LiveLink connection
LiveLink Window
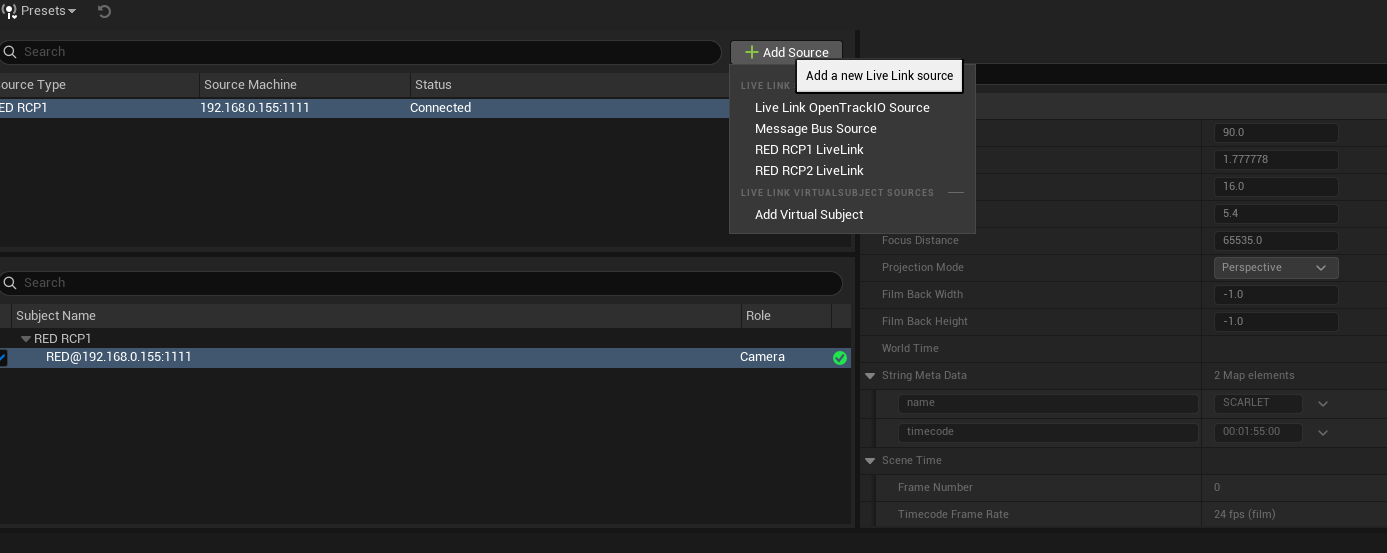
Once installed, RED RCP1 and RCP2 cameras will show up as connectable in the LiveLink window. DSMC1 and 2 cameras use RCP1, and Raptor/Komodo cameras use RCP2.
Remember to save and specify your project's default LiveLink Preset to get everything to load automatically in virtual production projects.
Connecting to a CineCameraActor
Once connected, the plugin presents a Camera LiveLink subject to Unreal, which can be added to any cine camera in your scene. Multiple LiveLink components can be added to a CineCamera, for example if you also have a tracking system, but ensure each component is controlling the correct parameters only using the Update Flags.

Additional data
Due to the way LiveLink works, it will not be able to update all the camera parameters automatically. Only lens data will be passed directly into the actor. This extra data (such as ISO, white balance, etc) can be displayed as a reference to an operator, or can control a camera via a blueprint using these steps:
- Create a new Blueprint class derived from CineCameraActor
- In the BP, add a LiveLinkComponentController. Click this component, and in the inspector on the bottom right, click the "OnLiveLinkUpdated" event. This allows us to parse data in editor when LiveLink updates
- Add a CineLinkDataTranslator component
- Add the following blueprint nodes:
https://blueprintue.com/blueprint/_3jq19qw/

This new BP actor can be used in place of a normal CineCamera in nDisplay and other plugins. If you're already using a custom camera BP, or don't want to create a custom CineCamera, you can also create an empty Actor with multiple CineCamera variables and multiple LiveLink components, and assign the variables to the cameras in your scene.
An example blueprint is included in the plugin content.
Next Steps
Now that you have the data, you can do anything with it that Unreal enables! nDisplay is an obvious example, but imagine controlling DMX lights based on the cameras settings, or sending OSC data when the camera speeds. LiveLink also works in packaged projects, allowing you to create custom software platforms that interface with cameras now!