Encoder Setup Guide
Physical Overview
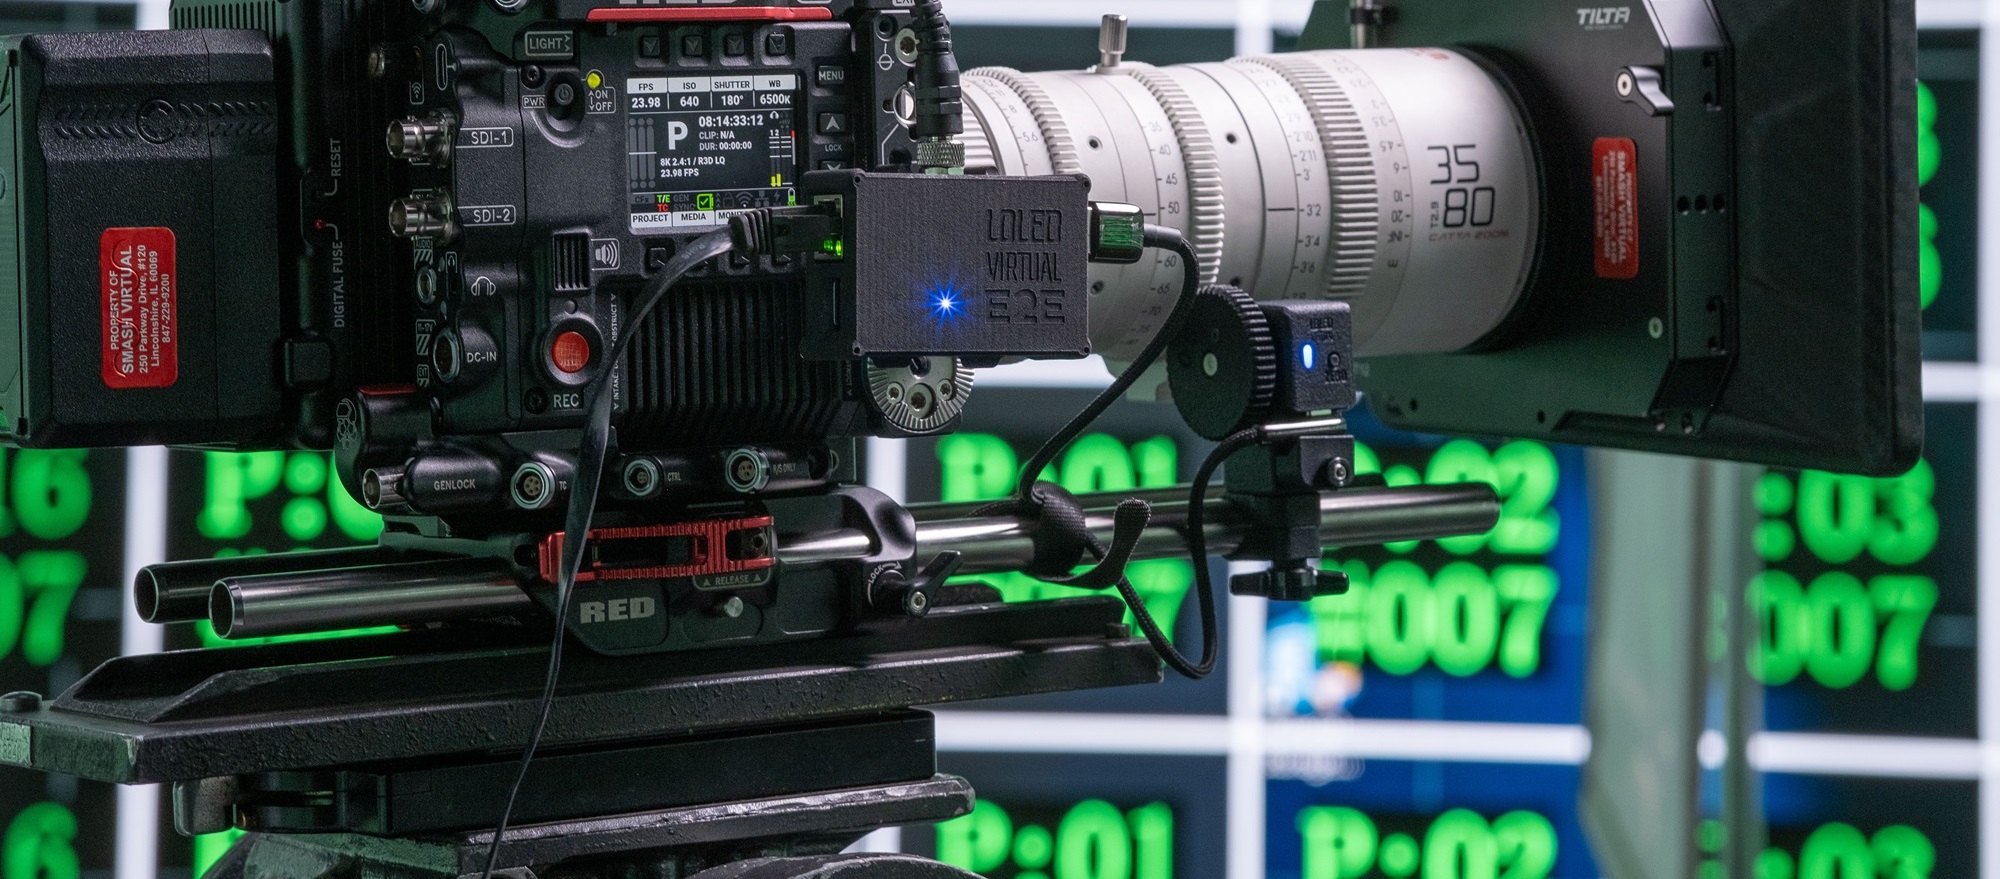
Learn about the Indiemark 3 or Indiemark 2 lens encoders.
While there are differences between the lens encoders physically, the broad steps are the same:
- Mount the encoder to the camera (using 15mm/19mm rods or custom mounting)
- Engage the lens gear (0.8/0.6/0.5 mod)
- Plug in and zero the encoder (by pressing the button)
There are multiple options for what you can plug the encoders into, overviewed below.
Connection Options
The process to setup a LOLED lens encoder will be different depending on your particular chosen hardware and workflow. There are two options--direct USB, or E2E converter boxes.

Option 1: Direct USB
Indiemark lens encoders can be plugged directly into a computer with a USB cable. Multiple encoders can be connected via USB Hub. This provides a quick and cheap way for small studios to get up and running, or to do small scale testing.
When using USB, the LONET Server software is used to connect, manage, and output encoder data. LONET Server 3 can also be used to connect directly to Arri, RED, and Blackmagic cinema cameras with a CineLink subscription.
You can download LONET Server here.
Learn How to Use LONET Server
Option 2: Encoder 2 Ethernet (E2E) Converter Boxes
In more professional stage environments, E2E boxes can be used to directly send encoder data to Unreal, media servers, or Stage Precision. The E2E FIZ provides 3-axis lens encoding, genlock, and WiFi for wireless setups.
When using E2E boxes, the box itself sends data directly over the network and additional software is not needed.